
Don’t panic, it’s nearly Christmas and you’re looking for a quick last minute gift idea – I’ve got your back. This is such a pretty and thoughtful way to gift a bottle of wine, it takes very little time to whip up and you may well have enough fabric in your left over stash pile without buying any more. I have made it with 2 fat quarters of Makower Christmas fabric from their Scandi collection but it is perfect using any fabric you like for whatever occasion you need a bottle of wine for!

You will need:
- 2 pieces of fabric measuring 6 1/2″ x 15″ for the outside of the bag
- 2 pieces of fabric measuring 6 1/2″ x 16″ for the lining of the bag – note this is slightly longer than the outside pieces which allows for the ‘turnover’ at the top of the bag
- 2 pieces of fabric measuring 5″ x 2″ for the casing which the ribbons thread through – use the same fabric that you have used for the lining
- ribbon – the ribbon I used is 1/2″ wide, and I used 2 x 24″ pieces
- fabric scissors or rotary cutter and board, pins, coordinating thread, sewing machine, tape measure or ruler
- needle

Firstly take your 2 small pieces of fabric which are going to be the casing which the ribbon is threaded through and press a 1/4″ hem all the way around on the wrong side of the fabric. You’ll need to do this with both pieces.

Pin one of the casings on to the right side of one of the outside fabric pieces. I placed it so that the top of the casing was about 2 1/2″ below the top edge of the fabric piece. Repeat for the other casing on the remaining outside fabric piece.

Take both of your fabric pieces to the sewing machine and sew along the top and bottom long edges of the casings, leaving the short ends open so that the ribbon may be threaded through later.
Next place the two outside fabric pieces with the right sides together, pin, and starting at the top, stitch down one long edge, along the bottom, and up the other long edge. The top edge should remain open. I used a 1/2″ seam allowance for this. Take care if you are using a directional fabric that it is laying in the right direction!
Repeat this step with the lining fabric pieces. Pin them with the right sides together and stitch from the top down one long edge, along one short edge and back up the other long edge. Again you should have one short edge left unstitched. If your fabric isn’t directional then it doesn’t matter which way up it is when you stitch it, but if it has a directional pattern like mine then you will need to stitch the three edges so that when it is attached to the outside bag and pulled through,the turnover will be the right way up. This only applies to the lining bag – it almost feels like you are sewing it upside down – but trust me when it is finished the one inch band at the top will be the correct way up!

Although not the best photo, above shows both outside and inside bag stitched around three edges. Although the wrong sides of the bags are shown you may notice that the lining bag (with the little heart pattern) is ‘upside down’. As explained this means that when it is stitched to the outer bag and turned through the pattern will show the right way up!
The next step is to give the bottom of the bags some shape so that they will sit nicely. Pinch open one end of the bottom of one of the bags so that you have a triangular shape. Measure down 1 1/2″ from the point and draw a line across with a pen or pencil. Pin it in place, and repeat with the other 3 corners. Take your bags to the sewing machine and stitch along the lines you have just drawn.
When all 4 points have been sewn, trim the edges. The bottom of both bags should now have a bit of shape.
This is the fun bit. Turn the lining bag right sides out now. Place it inside the outside bag so that the bags are inside each other with their right sides together. Make sure you match up the side seams. Pin into place. Again using a 1/2″ seam allowance stitch around this open edge leaving a gap of approx 2″ so that you can turn it through to the right side. You will probably need to remove the extension table on your sewing machine and just use the free arm as this opening is quite small.
When you have done this turn it inside out through the opening you have left and take it to the ironing board and give it a good press. You should be left with a neat little 1″ band around the top of the bag. If you feel that topstitching the top of the bag will help keep it’s shape then go for it! Thread your needle and sew the little opening closed with neat small stitches.
Time to thread the ribbon, starting from the right side of the bag thread the ribbon through the casing to the left side, take it around to the back and thread through the casing back through to the right side of the bag again. Repeat with the other piece of ribbon but starting at the left side of the bag and threading it the opposite way around to what you did before. I used my fancy new ‘elastic glides’ from Hemline for this but you could simply attach a safety pin and thread it through using that too. Take care not to twist the ribbon, it will look much better if it lays flat in the casing.
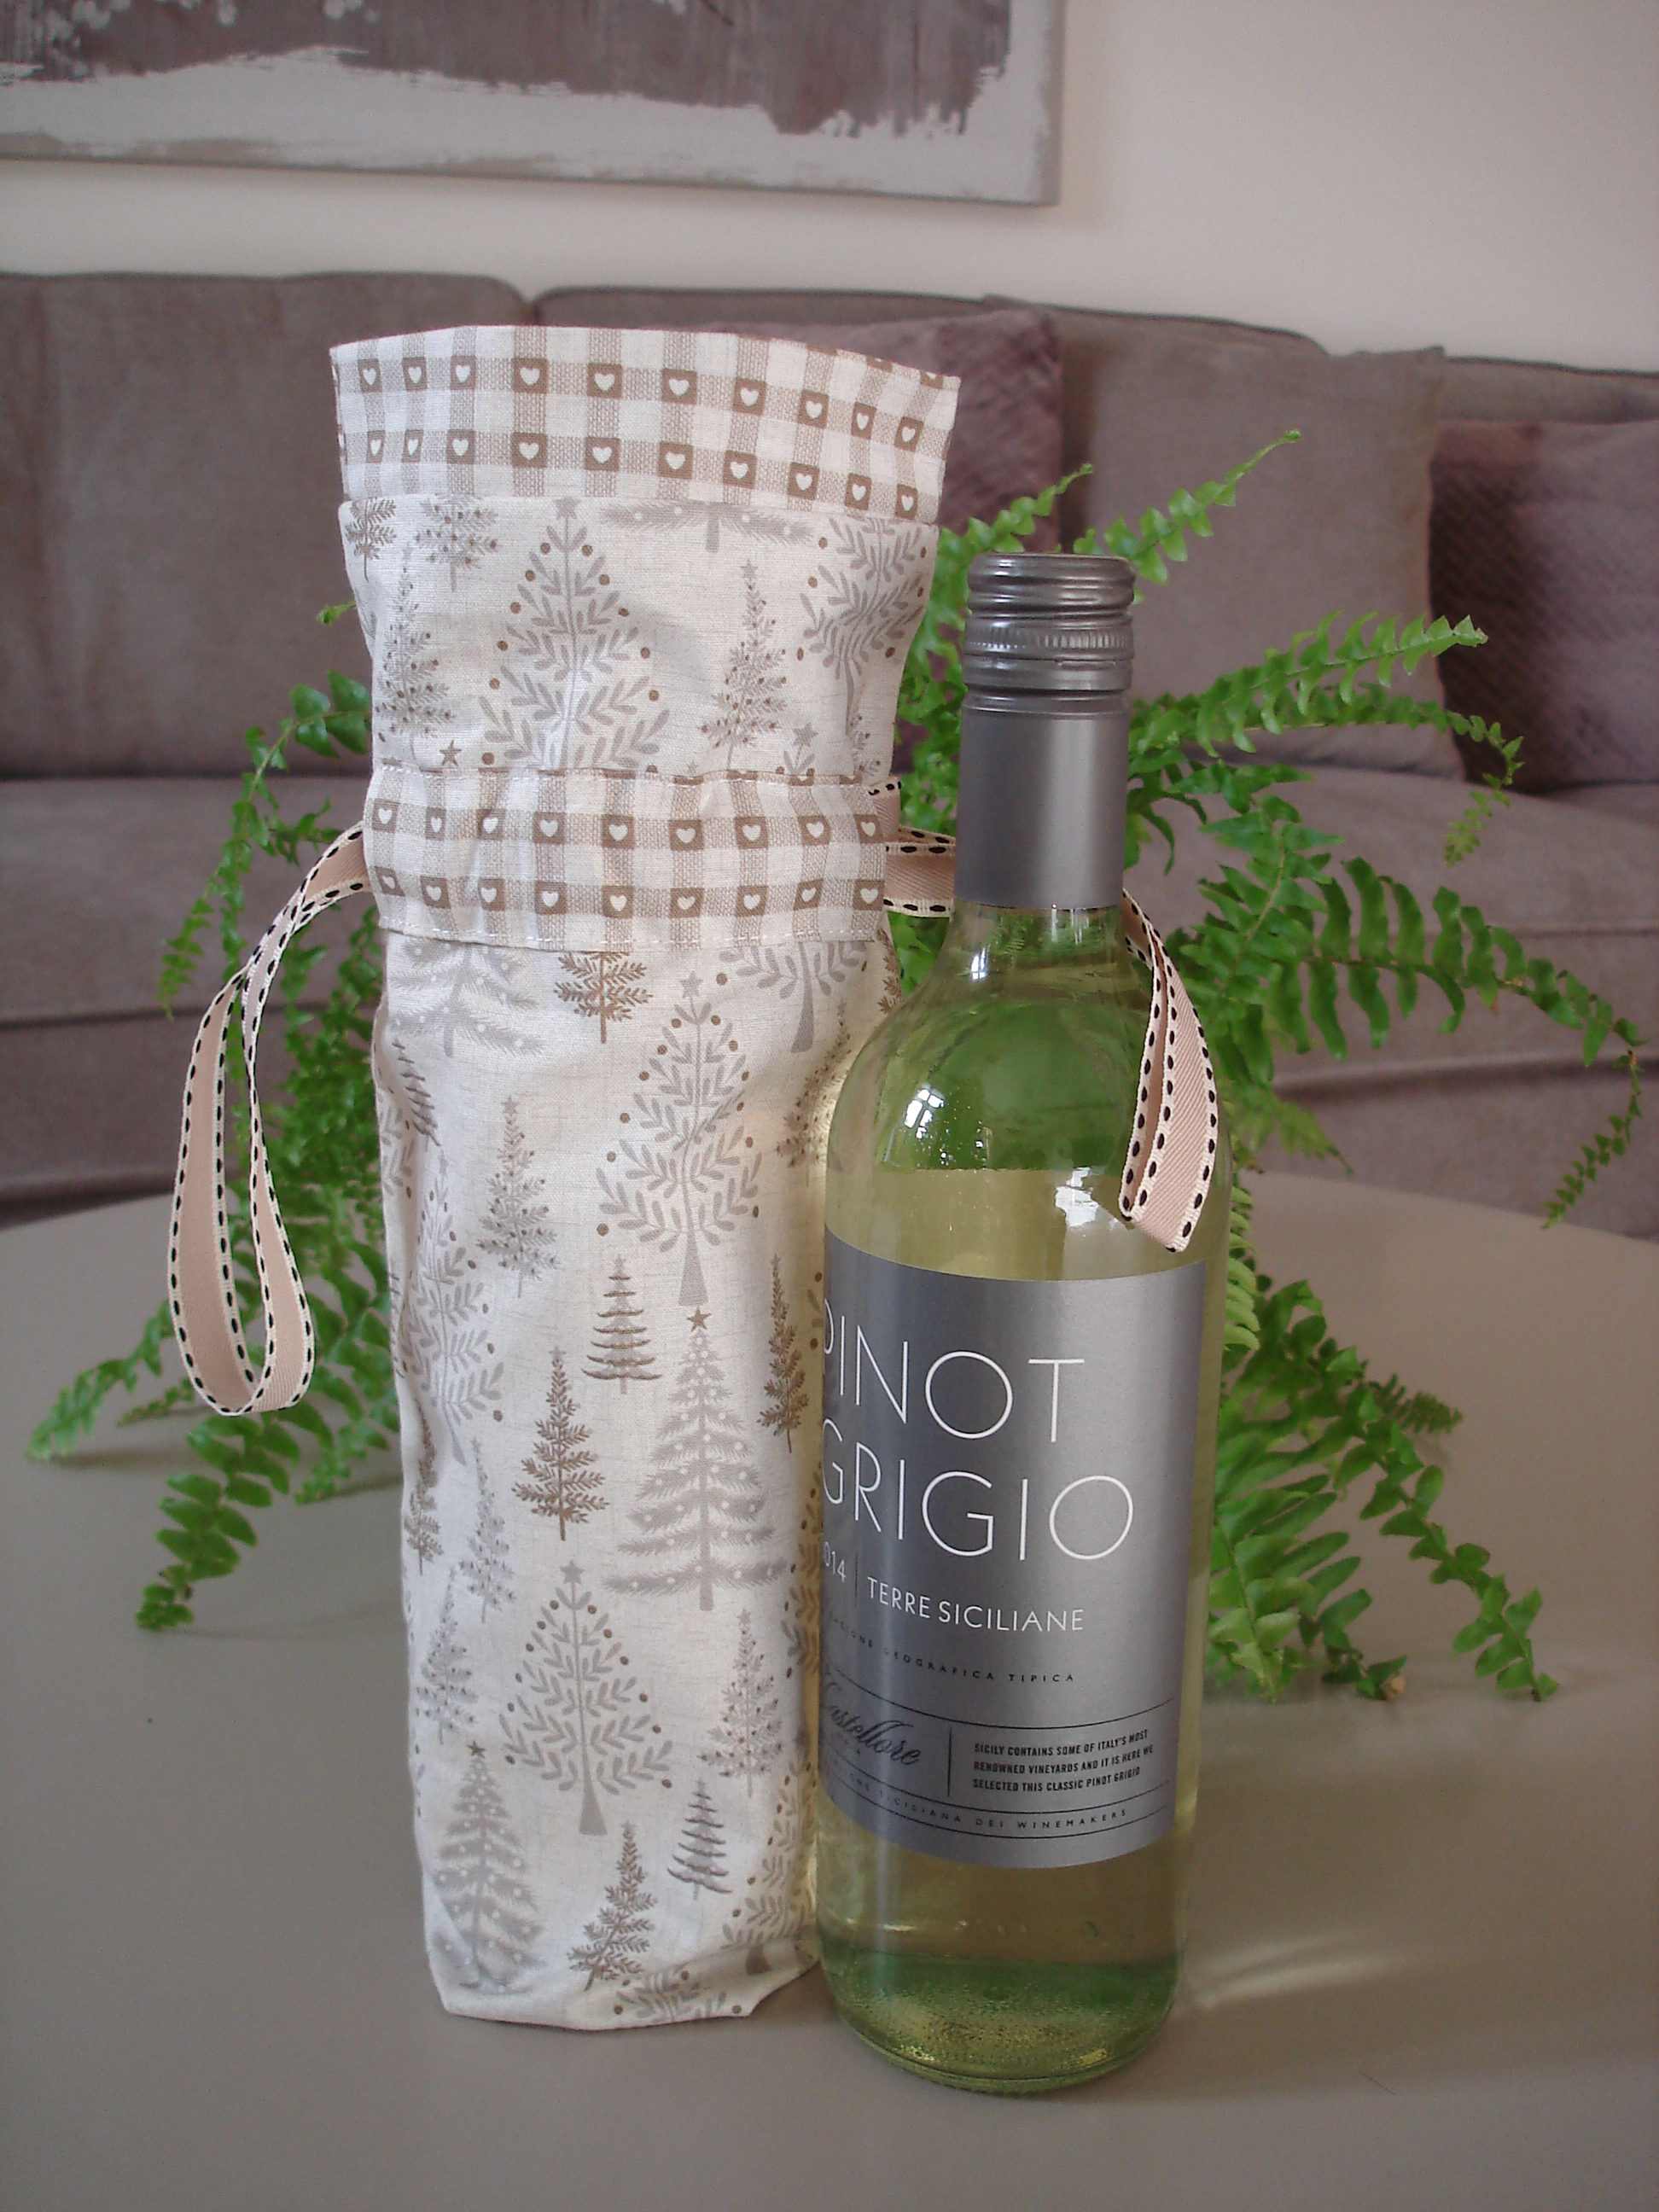
Tie the ends together and slide the ribbon around so that the knot is hidden inside the casing and Voila! You are done. Pop your bottle inside, draw the ribbon tight and there you have a beautiful fabric wine bottle bag – so much prettier than those bottle bags you can buy from the shops


I hope you have enjoyed this blog post, I think it makes that boring bottle of wine so much more special. Let me know if you give it a go!
Take care, I’ll be back soon,
Kathy x
Great instructions, best i have seen in a long time.
Thank you! I’m so glad that you found it helpful, Kx
Loved this tutorial. Very easy to follow.
Thank you so much, I’mm glad that you found it helpful! x