

A little while ago, whilst browsing through Pinterest – as you do in the middle of the night – I came across some pictures of some really pretty bedding ideas, and how to arrange your pillows. I immediately decided I NEEDED 2 very large white square cushions to place at the back of the bed and immediately the room would be given that fancy hotel feel!
Upon further investigation of snazzy pictures of how to dress your bed – there are lots of them – I decided that they had to be dazzling white with grey piping, to match our newly decorated grey bedroom.
Originally I wanted to use a white waffle fabric, but soon realised that this would be quite costly, so opted for the budget friendly option of using a plain white bed sheet as I couldn’t bring myself to spend a great deal on plain white fabric. Life’s too short. My cushion pads were from Dunelm and were the largest I could find at 26″ square. The bed sheet was from Primark and was a single flat sheet which was perfect for my project.

For this project you will need:
- Cushion pad/s to the size you require. Mine are 26″ square.
- Fabric ( I simply used a plain flat bed sheet, your choice could be a great deal prettier than this)!
- Bias Piping Tape ( I bought ready made tape, but of course you could make your own.
- Matching threads.
- Rotary cutter and mat, and/or fabric scissors.
- Tape measure/ruler.
- Pins and/or Clover Wonder Clips.
- Zipper foot for your machine.
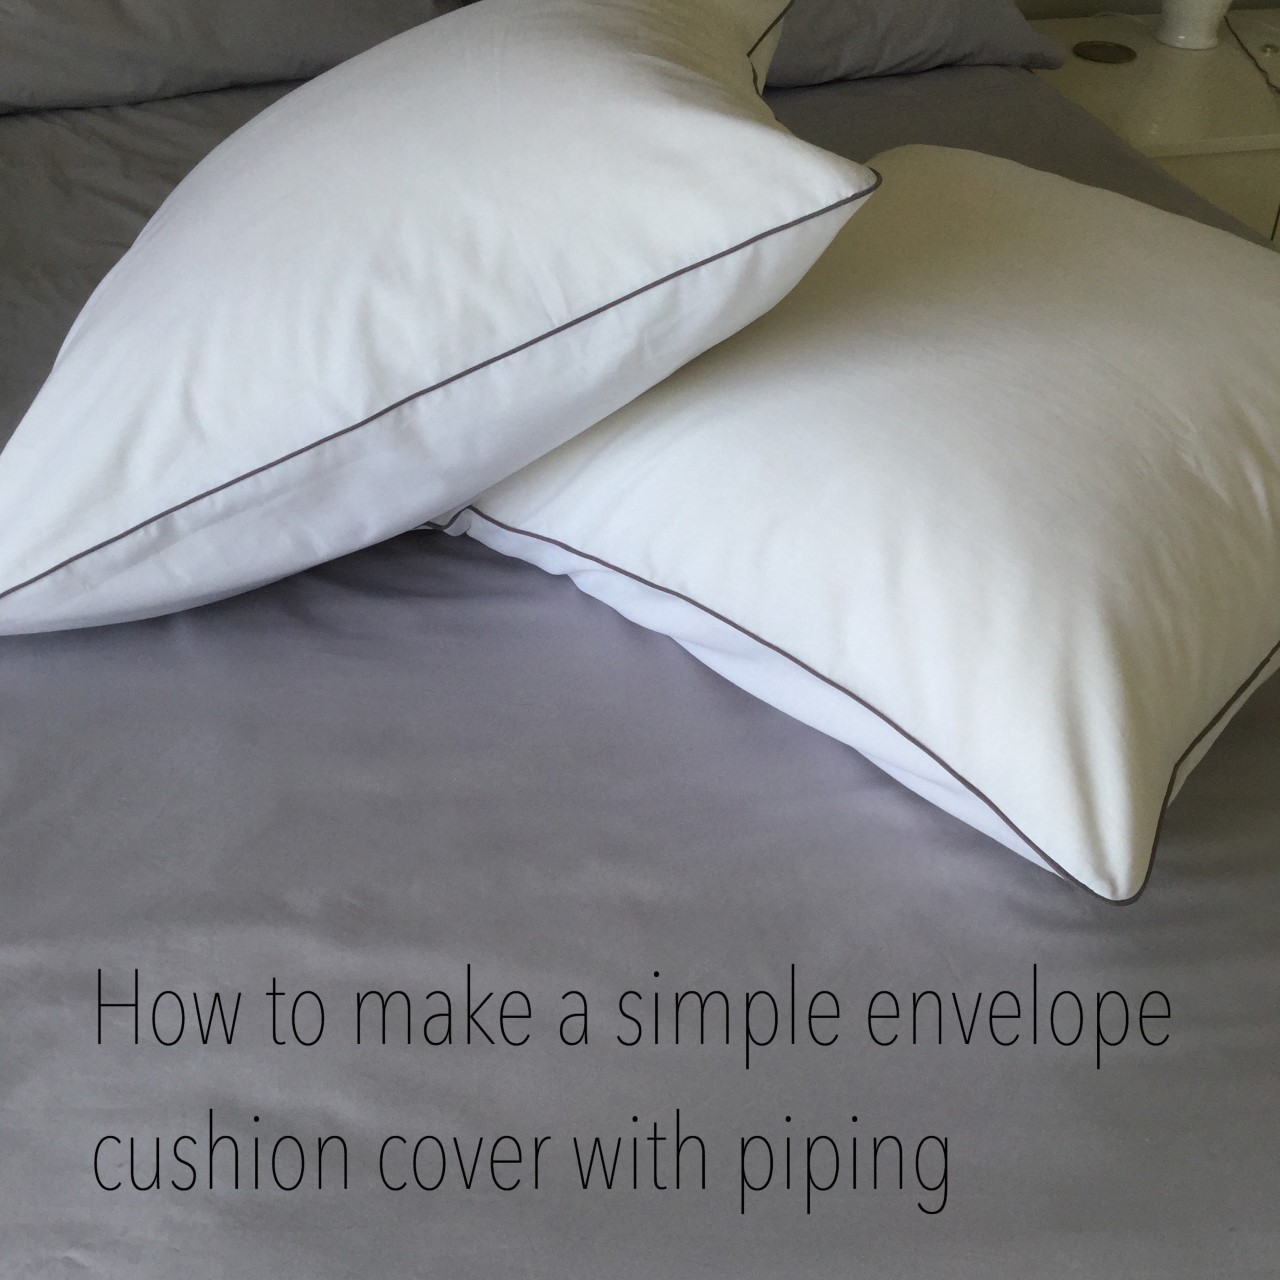
As you can see from the pictures, I made two cushion covers. For the purposes of this tutorial I will be describing how to make one cushion cover.
Your cushion cover is made up using one square of fabric – which will be the front piece of the cushion cover, and two smaller rectangular pieces – which make the back of the cushion cover.
I will be using a 1/2″ seam allowance for this project.
Let’s get started!
Firstly we need to measure our cushion pads and decide how large our fabric pieces need to be. My cushion pad is 26″ square. To cover this I will need one square of fabric which measures 27″ square, and two rectangular fabric pieces each measuring 27″ x 22″
The first thing I did was to take both rectangular pieces of fabric and neaten one of the 27″ edges on each of them. I turned the edge over 1/2″ and pressed it, then turned another 1/2″ again, and stitched along this edge. You can put these to one side for now.

Next take the square piece of fabric and lay it down with the right side up. Pin or clip the piping tape around the entire edge. I am going to be using a 1/2″ seam allowance for this project so I make sure that the stitching on the piping runs along the edge at this distance. The piping should bend nicely around the corners. To help, snip the piping tape at the corners taking care not to snip too far! Your length of piping will need to be long enough to run all the way around your square and 2 or 3 inches extra at each end to allow for overlapping/joining the binding where it meets up.

Make sure the piping join meets along one of the straight sides, it would be tricky to do this on a corner. To join them together firstly unpick a few stitches on the piping and open the casing up to reveal the string/cord inside. Cut the string/cord approx 1″ shorter and then fold back the casing to the inside so that you have a neat edge of the end and the string/cord cut just a little shorter than the folded end. I hope you may be able to see this from the picture below.
Next, (again please refer to the picture below), with the other end you will need to cut the piping tape straight up so that it lines up with the end of the string/cord that you just cut on the previous piece.

Again looking at the picture for reference, the right hand tape will now sit nice and flat inside the left hand tape. Simply fold the left hand tape over the top of the right and pin/clip into place.


To make sure that your piping tape doesn’t slip or move, I decided to baste it into place. I used grey thread and stitched it to to the fabric. I used the zipper foot on my machine to make it easy for me, but I wasn’t trying to stitch close to the piping – in fact quite the opposite. This is only to hold it in place, it is when you sew it all together at the end that you need to stitch super close to the piping.
O.k, nearly done now.
Finally it’s time to sew the front piece with the attached piping to the two back envelope panels.
Place the square front piece with the right side up. Then place the two rectangular back panels on top, right sides down, with the raw edges of the rectangles meeting the raw edges of the square piece. They should overlap, and this is what give you the envelope opening. I hope this is clear, unfortunately my cushion is so large it was difficult to photograph this step!
Pin/clip into place and then, using your zipper foot sew in place all around the edge – this time sewing as close to the piping cord as you possibly can. This will ensure that when you turn it right side out that only the cord is visible and not the tape that it is attached to! When you are stitching it is wise to reinforce the edges of the cushion cover where you will open and close it, with extra stitching to give it a bit of extra strength.
Turn your cushion cover right side out and give it a gentle press, ensuring the corners are gently pushed out.


I hope that you follow this tutorial, it was tricky to photograph such a large project so I hope my written description makes sense when pictures weren’t possible!
The finished result is great and I feel our bedroom is almost complete now.
Have you made any home furnishings recently? I would love to hear how you got on. Let me know if you have a go at these cushion covers too, tag me on social media so I can see your work!
Take care and I’ll see you soon,
Kathy x

Your pillows look great!! Thank you for the tutorial:).
Thanks Tracy, glad that you liked it, have a great day! Kathy x
Beautiful pillows and wonderfully detailed instructions. Thank you so much.
Thank you Peggy, how kind of you to say! Kathy x
Pillows look nice.. Enjoyed it a lot. Thanks for sharing. Will definitely try once..
Hi, good to know that you are going to give it a go. Good luck! Xx
They’re lovely! I think I’ll use satin ribbon instead of bias…the bedroom needs a few new options!
Hi Gloria, thank you! I think satin ribbon would be gorgeous – the perfect finishing touch! XX