
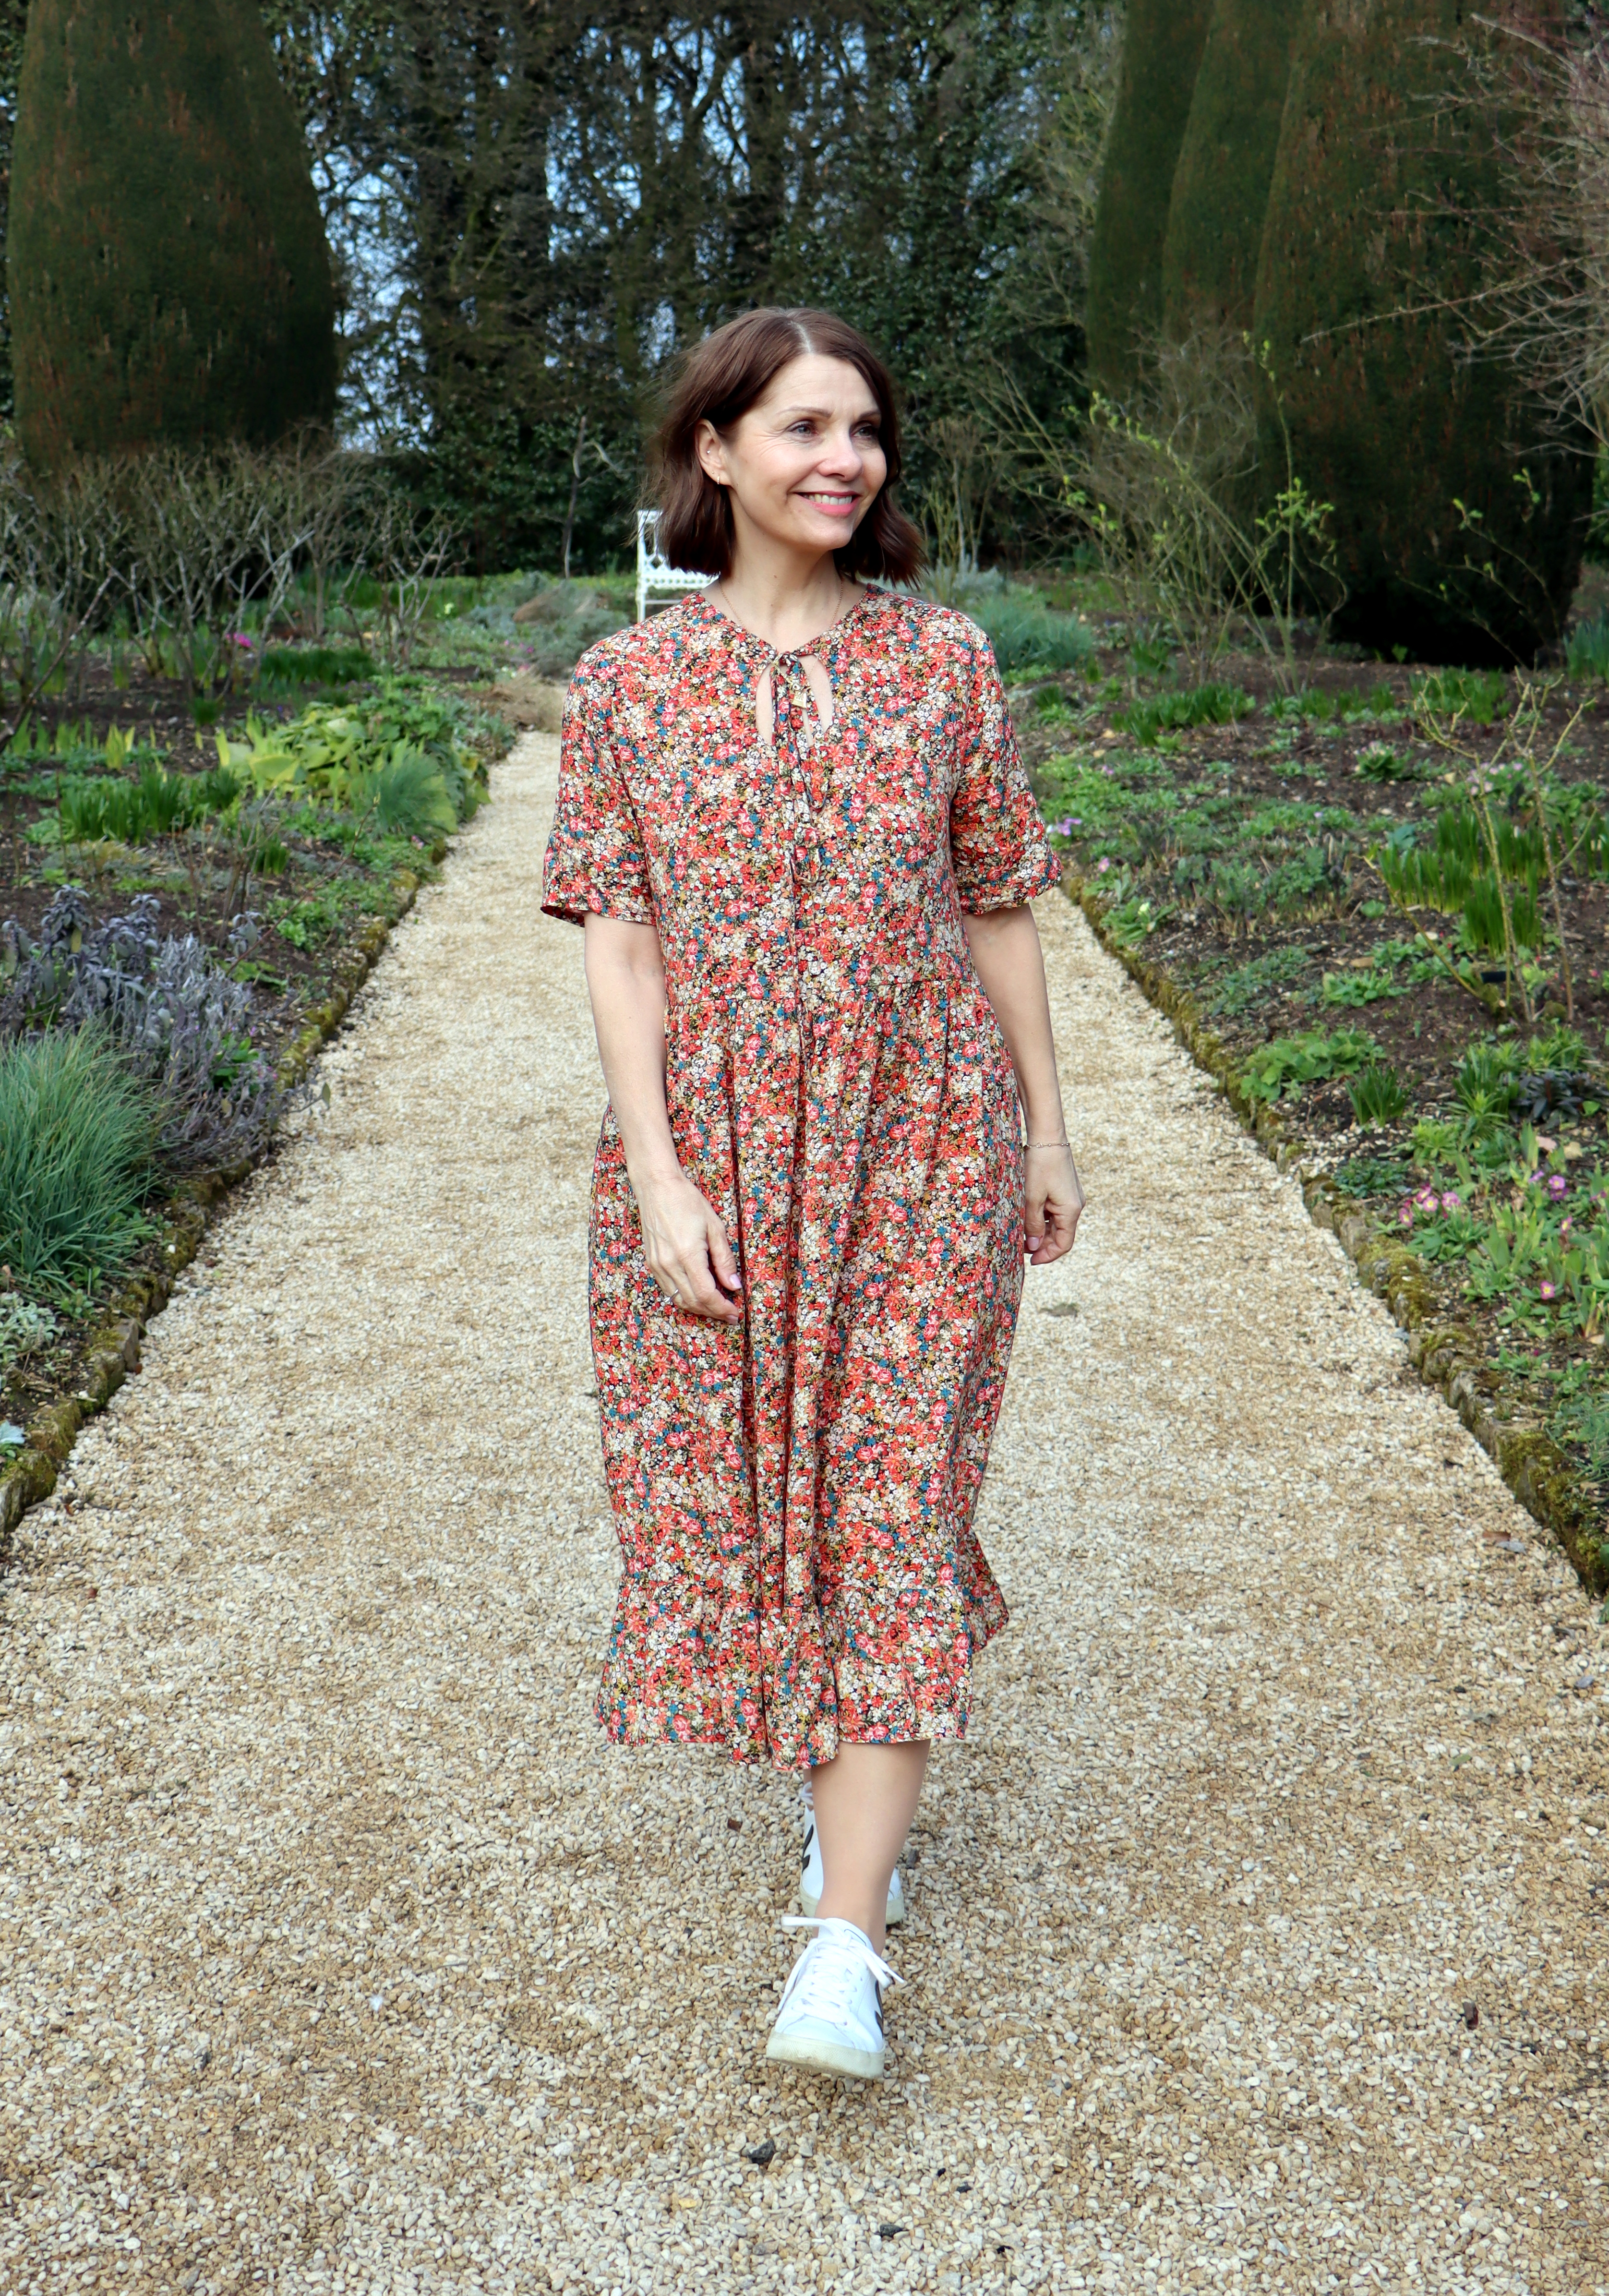
What a cute dress this is.
The Sudley features a keyhole cut out neckline which can be worn either at the front or back of the dress. This versatile pattern can be made as a dress or a blouse, with or without a peter pan collar, and has a choice of three sleeve lengths.

Ad – This pattern and fabric has been sent to me by Sewessential in exchange for my thoughts in a blog post. I had the choice of whichever pattern and fabric that I wanted, and all words and opinions in this post are my own. If you are not familiar with Sewessential, they are a family run online fabric and haberdashery supplier stocking over 20,000 items perfect for the sewing enthusiast. I have been a customer for many years purchasing items for myself as small as sewing threads, fabric and patterns, a rotary cutter and blades, machine feet etc, right up to buying my current Pfaff sewing machine. You might also be aware of their youTube channel where you can find Lucy chatting about pattern and fabric pairings, or sharing tips and tutorials for sewing techniques, often learned from her clever Mother in Law.
So the question is, where to start when there is so much choice – do you choose the pattern first or the fabric? Well, this varies depending on the situation but I usually go for the pattern first. I’m not going to lie – I have a MASSIVE sewing pattern ‘wish list’, so this shouldn’t ever be too much of a problem, especially with an outlet that stocks so many sewing patterns. I decided to have a browse through the independent pattern designs section this time and just kept coming back to this Megan Nielsen Sudley. Excellent, finally I could cross off one of the patterns that has been on my wish list for years!

Moving on to fabric, I just love a ditsy floral print and this adorable viscose won me over as soon as I saw it, and I think it works really well with this pattern. It is incredibly soft and has beautiful fluidity which really works with this relaxed fitting gathered dress and especially the ruffle tier that I added – but more about that later. The overall colour is a rusty teracotta and it has splashes of blue, gold, green and black. I’ll add a simple close up shot of the fabric below so that you can get a good idea of what it looks like (depending on your screen quality), as the sun was going in and out throughout the day during our photoshoot, and so the colours that you see in the images for this post aren’t always consistent. As the fabric was so buttery soft, I used a fine microtex needle in my machine.


The pattern covers sizes 0-20, which is a bust range of 32″-46″. My measurements at the time of making this are 35/29/39 which puts me as a size 6 for the bust, and 10 in the waist and hip. I decided that the bust measurement was the most important to consider with this relaxed fitting style of dress, so I opted to make a straight size 6, and for me this was a good choice. My height is 5’2″ btw.

Megan Nielsen give this pattern a 3/5 rating for difficulty. I think personally I would give it a 2 out of 5 rating myself as it is really fairly easy. The dress has no fastenings which makes it a much easier garment to sew, however the long ties at the keyhole feature are quite skinny and turning them through is a bit fiddly. Also the curved keyhole shape may be a little challenging for a beginner too, so yes maybe a rating of 2 or 3 out of 5 is fair.

I wanted to fully line my dress – if you don’t want to do this you can finish off your neckline with bias tape. The instructions are very good and take you through the process nicely. It’s not necessary to line this viscose at all – my reason for doing so was that I like the luxury of a lined dress, but was also so that I could wear tights with it in cooler weather and not have the dress sticking to them. To be fair, I will probably mostly wear this dress in the warmer months (without tights), but hey-ho.

I made a couple of small changes to the pattern for my version..
Firstly I added inseam pockets to the skirt of the dress. This pattern does not come with a pocket piece, so I just used the pocket pattern piece from another pattern and added them to the side seams.

Secondly I wanted to add a gathered tier to the bottom of the skirt. I am not ready to let the ruffle/tier trend go at the moment, and I wanted a gentle gather along the bottom, perhaps a strip about 1.5 times longer than the length of the hem would give me the perfect amount of swish. By some sort of miracle the actual width of the fabric (140cm) was pretty much the length that I needed, so I cut a strip which was approx 15cm wide and gathered and added it to the hem of the dress in the normal way.

Another reason why I was so pleased with the fabric, was how well it would fit into my existing wardrobe regarding accessories etc. This dress is equally at home with pumps and a cardigan as it is paired with DM’s and wool coat. Keep an eye out on my Instagram as I might make a video or post showing how this dress works with different shoes and jackets etc.
Finally just a mention as to where we shot the pictures of this dress, as I am always being asked this question. For this one we went to the National Trust Hidcote which meant a trip down to the beautiful Cotswolds. I love this part of England, it’s stunning.
Thanks once again to Lucy and all the team at Sewessential,
Take care, and I’ll be back soon,
Kathy x @sew_dainty

Lovely dress, especially with the added ruffles!
Thank you so much Jasmine x